What is Street As?
Street As changes the layout of all1 pages that include address fields so they are better suited for New Zealand addresses. Once activated, all address pages will show:
- Address
- Suburb
- Town or City
- Postcode
The Country/Region code that controls how an address is displayed has also moved so that it appears before the first address field. You can configure the system so that leaving the Country/Region field empty will treat the address like it’s a New Zealand address.
There are some more advanced features that are covered in the Clever Stuff section, but for now, let’s get you going with the basic stuff.
Installation
Purchase
If you’ve already installed the product and assigned licenses, you can skip ahead to the Configuration section.
Street As is available with a free trial through Microsoft’s AppSource.
You can begin the install procedure from within Business Central, but we recommend you start from the Street As Product Page on AppSource.
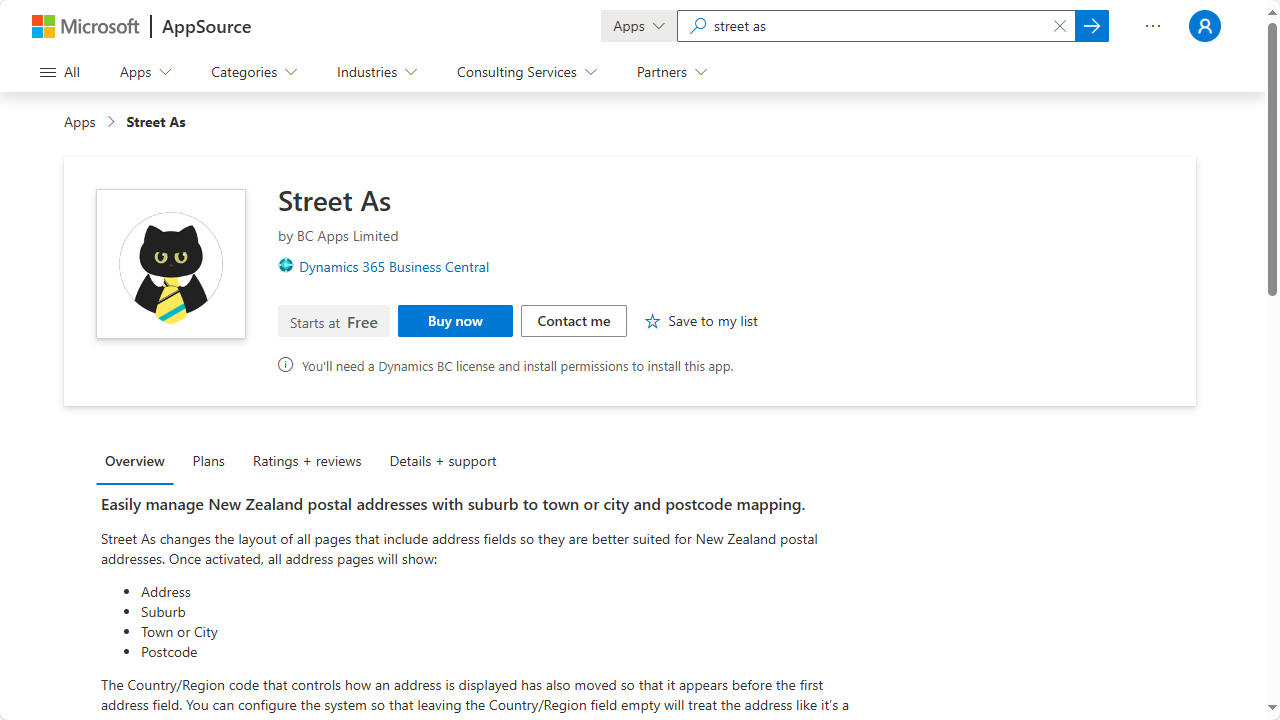
Click the Buy now button. If you are not signed in to AppSource, you will be prompted to sign in with your work or school account. Use the same account you use to sign in to Business Central.
If after clicking the Buy now button you are shown the Plans tab and a message that reads No available plans in the selected country or region. To view available products and plans, change the billing country/region., make sure your Billing country and language is set to New Zealand and English - New Zealand. The options to set these are behind the three dots to the left of your account image.
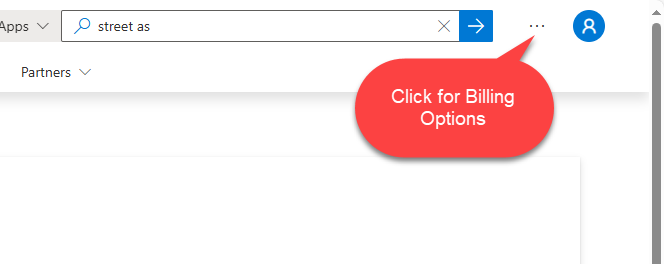
If everything goes well you’ll see the first step of the Checkout page where you must select your Billing country/region.
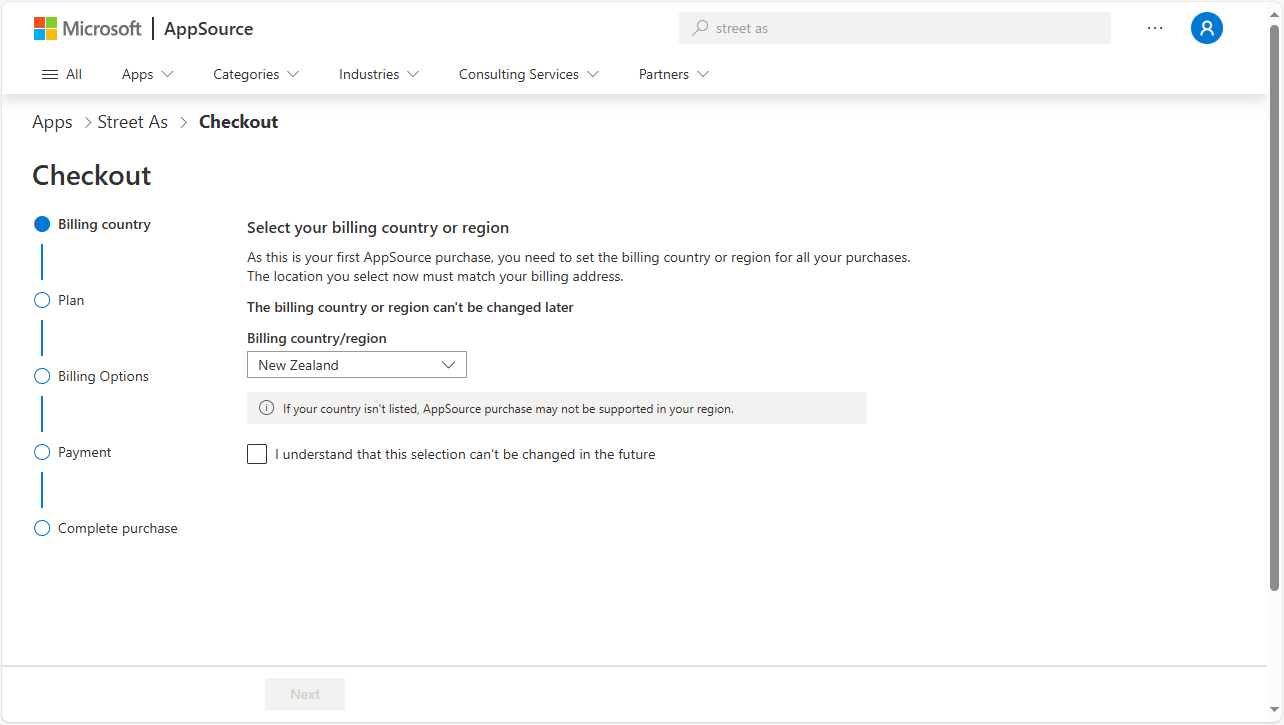
Choose New Zealand, tick the box saying you understand and click the Next button. You should now see the Plan step of the Checkout wizard.
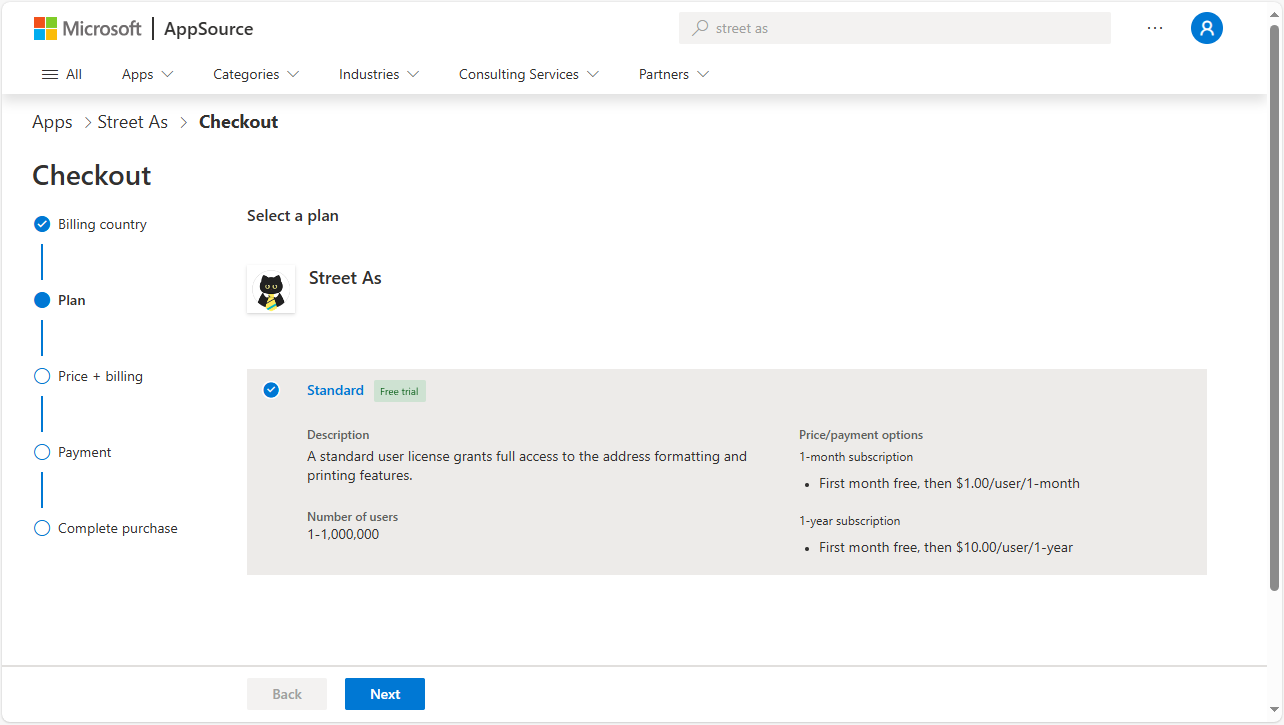
Click the plan you wish to use (initially there is only one standard plan to choose from) and the click Next. You should now see the Price + Billing step of the wizard.
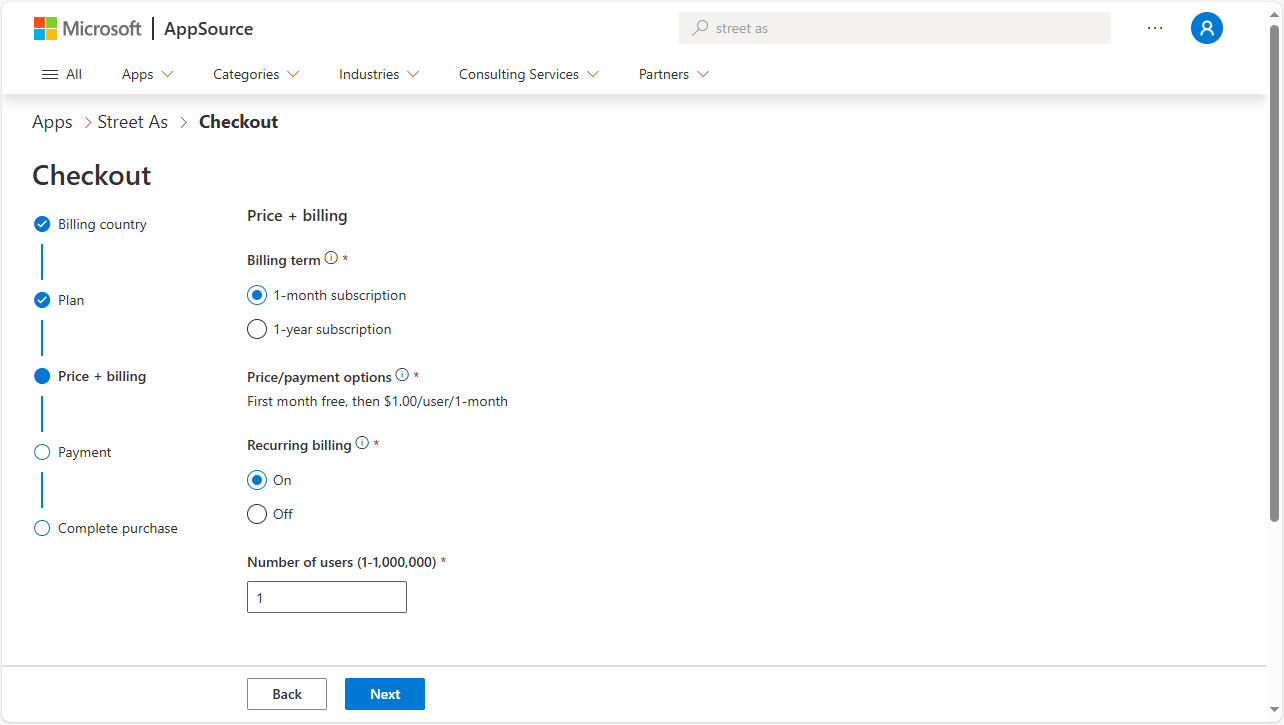
Here you can choose between monthly or annual billing, whether the billing will automatically renew, and the number of users you wish to purchase. You can easily add more users to an existing plan from within the Microsoft 365 Admin Center. Once you have selected your options, click Next to continue. You should now see the Payment step of the wizard.
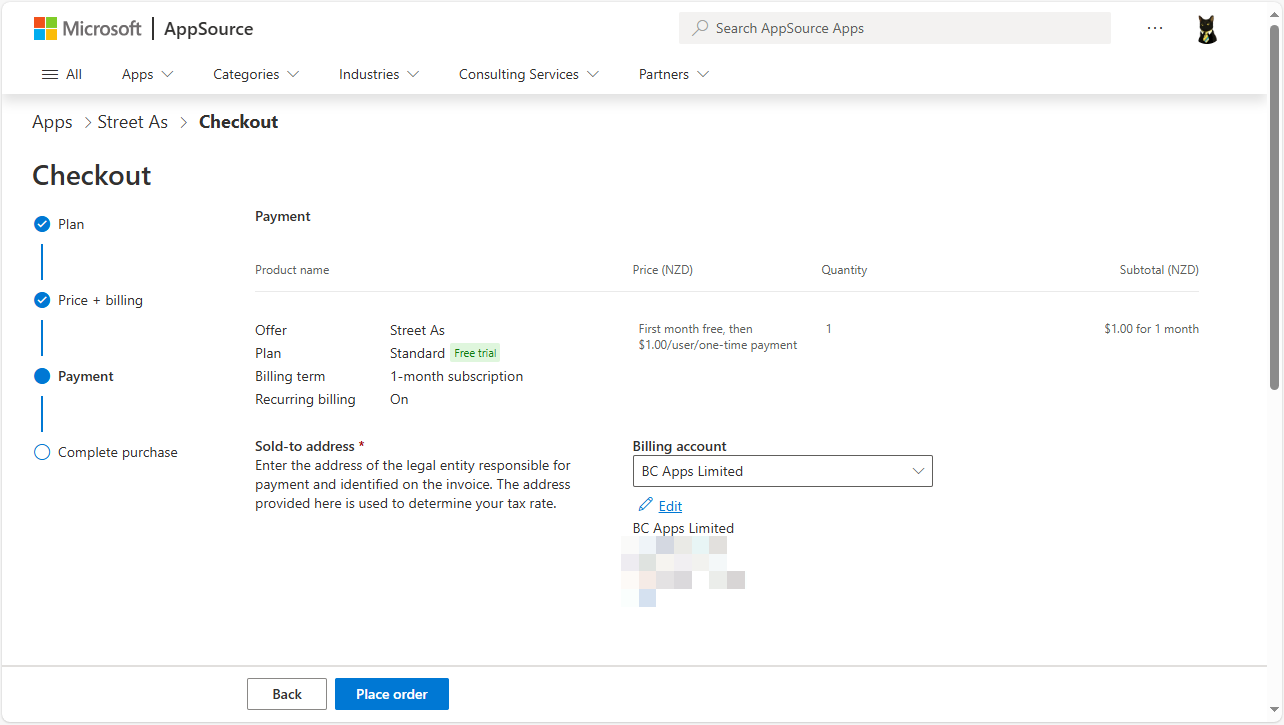
Here you will see a summary of how much you will be invoiced and you can select an existing billing account or enter a credit card number. Note that your first month will be free of charge. Click the Place order button to continue. You should now see the Complete purchase step.
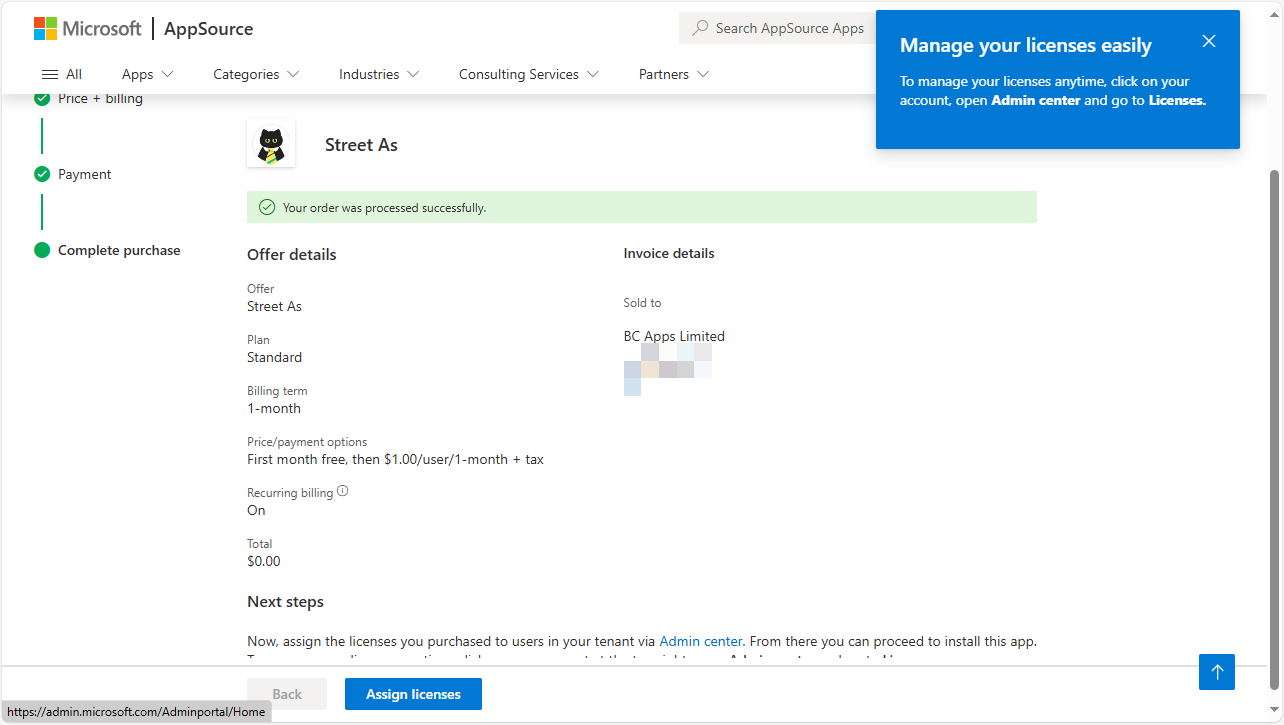
If all went well, the page will show that your order was processed successfully. To make it easy to get to the next step you can click the Assign licenses button. You will be redirected to the Microsoft 365 admin center where you should select the Billing > Licenses option.
Assign Licenses
If you didn’t click the option from the previous step or you want to assign existing licenses, go to the Microsoft 365 Admin Center. Note that external users such as delegated admin agents, help desk agents, and admin partners will be assigned a free license automatically.
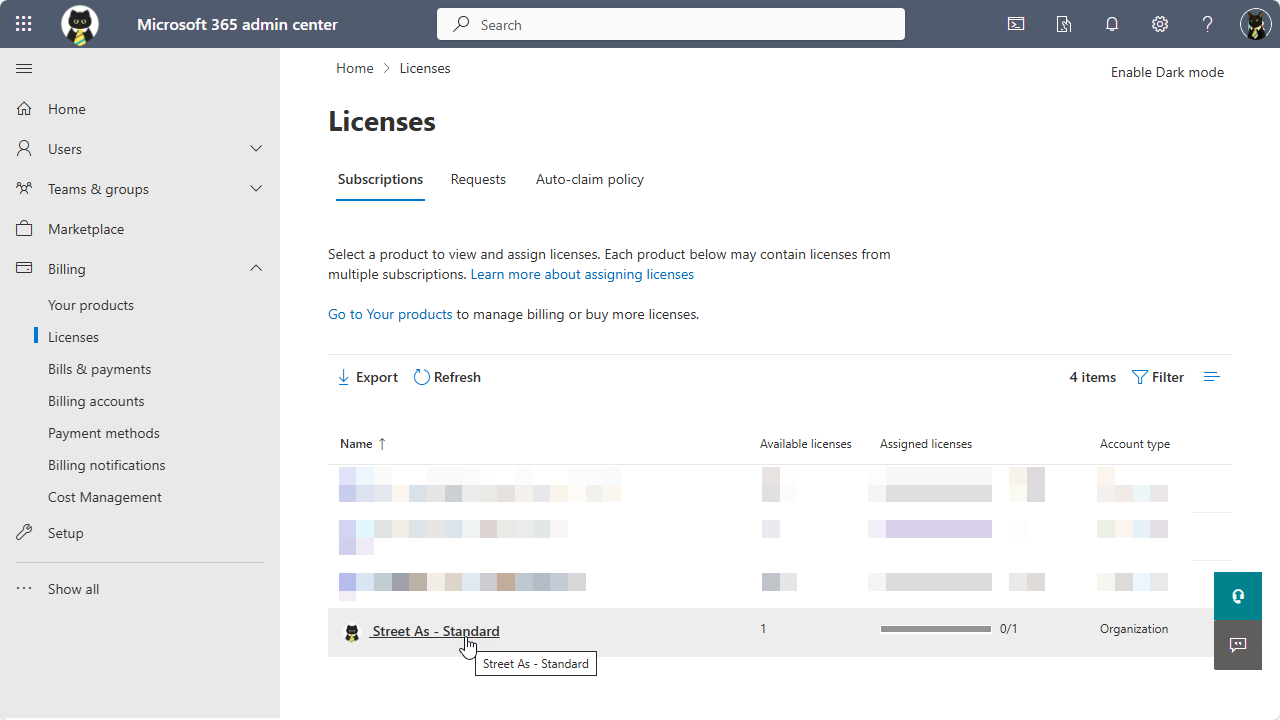
Click the link to open the Street As - Standard license assignment page. You should see the option to assign licenses to a user or to install the product.
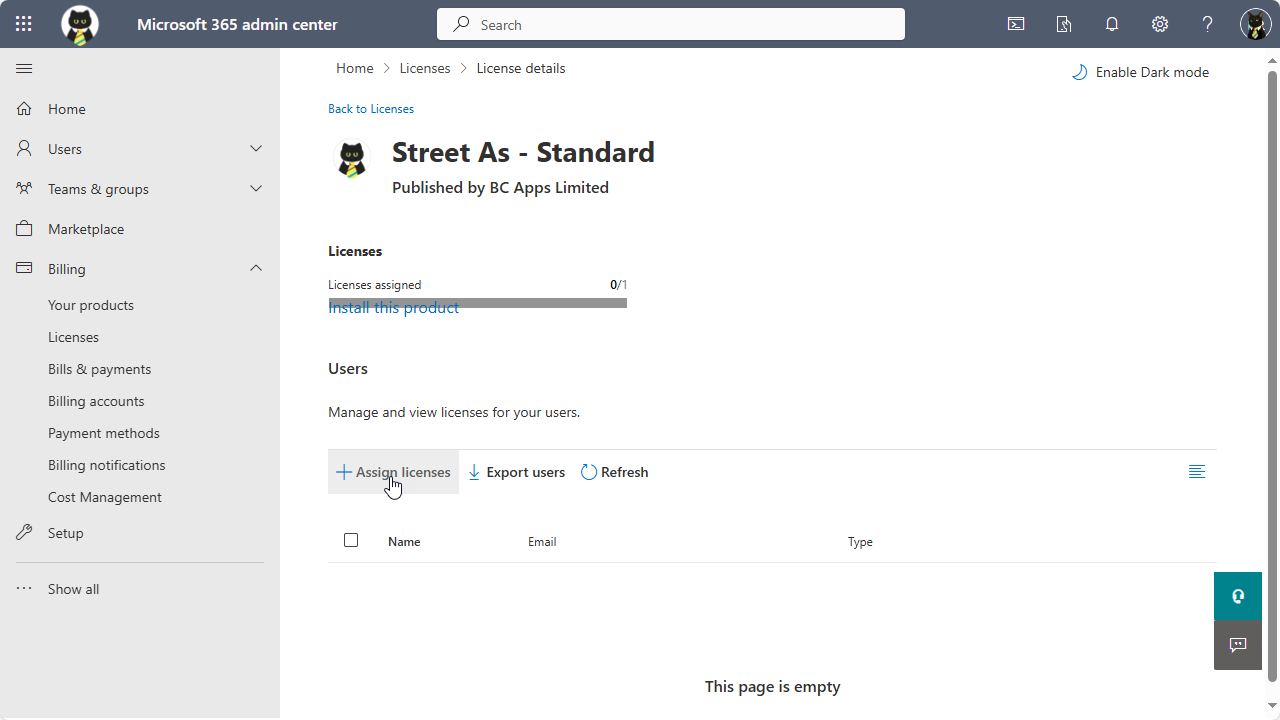
Click the Assign licenses link to proceed to the next step.
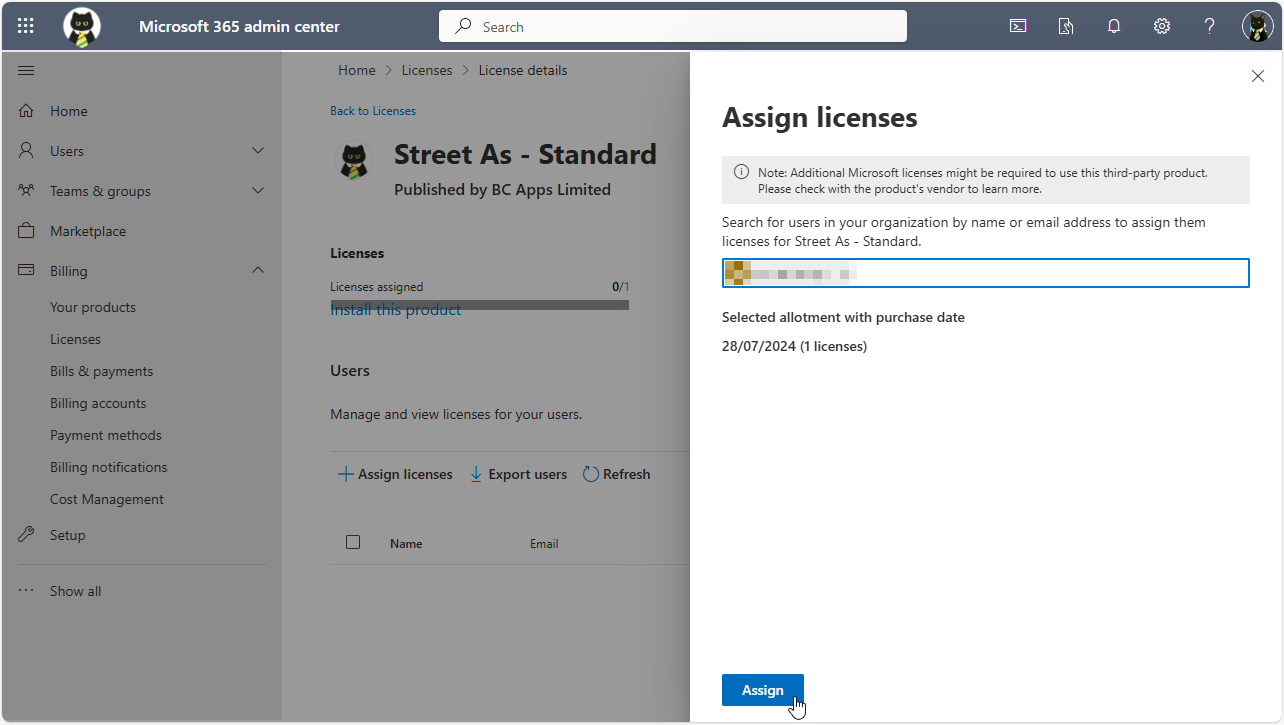
Type the name of the user you want to assign the license to in the search box and with the correct user selected, click the Assign button to compete the process. You will be returned to the previous page where you will see which users have a license assigned.
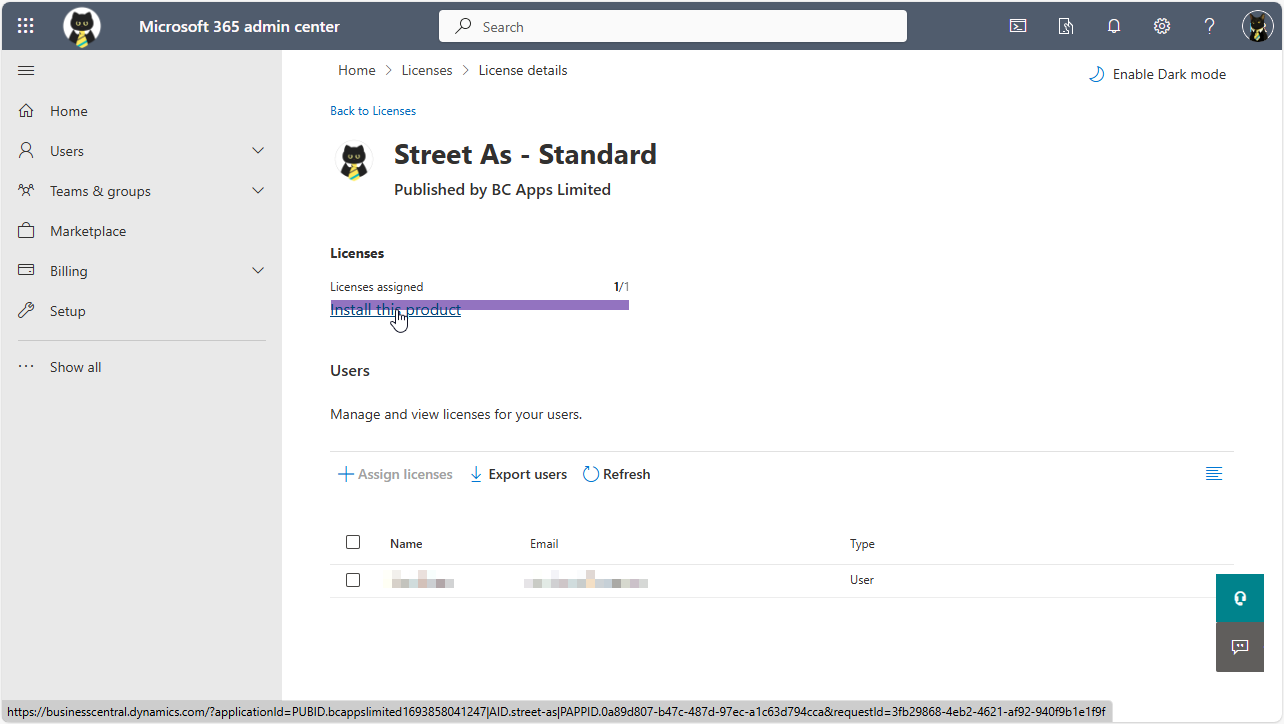
If you wish to purchase more licenses in future for this product, you can do so from within the Microsoft 365 admin center page without needing to visit AppSource. You can trigger the install of the app by clicking the Install this product link. The system will sign you in to Business Central and take you to the Extension Installation page.
Install
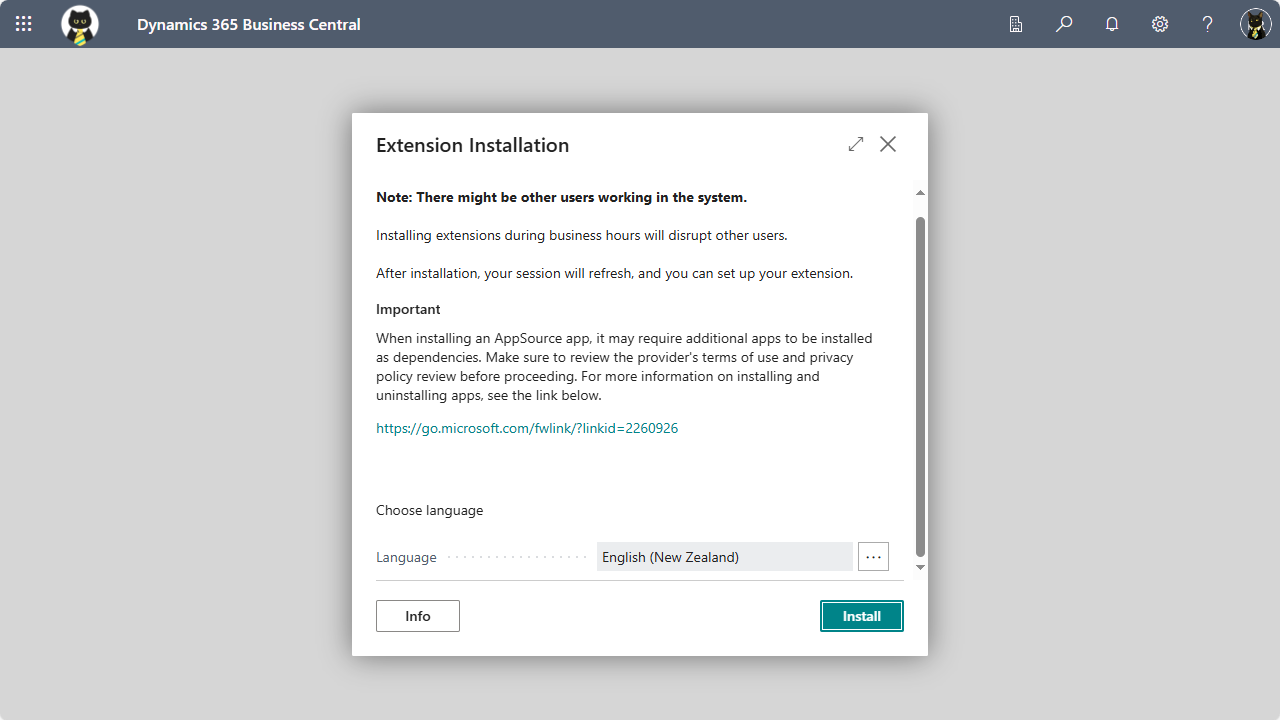
Click the Install button to begin the install. A helpful message showing that the installation is in progress will be displayed and that you can continue working while the extension is being installed.
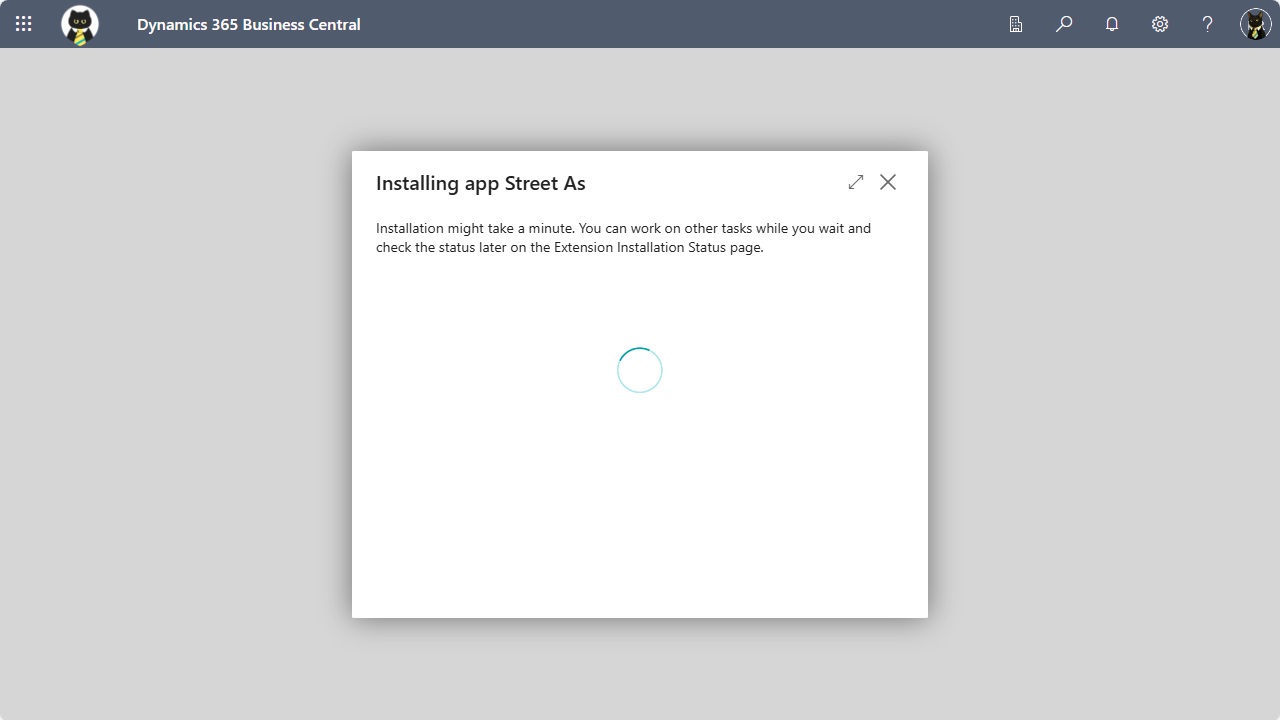
After a short while (assuming you didn’t go off and do something else), the system will show you a message telling you that the app is installed.
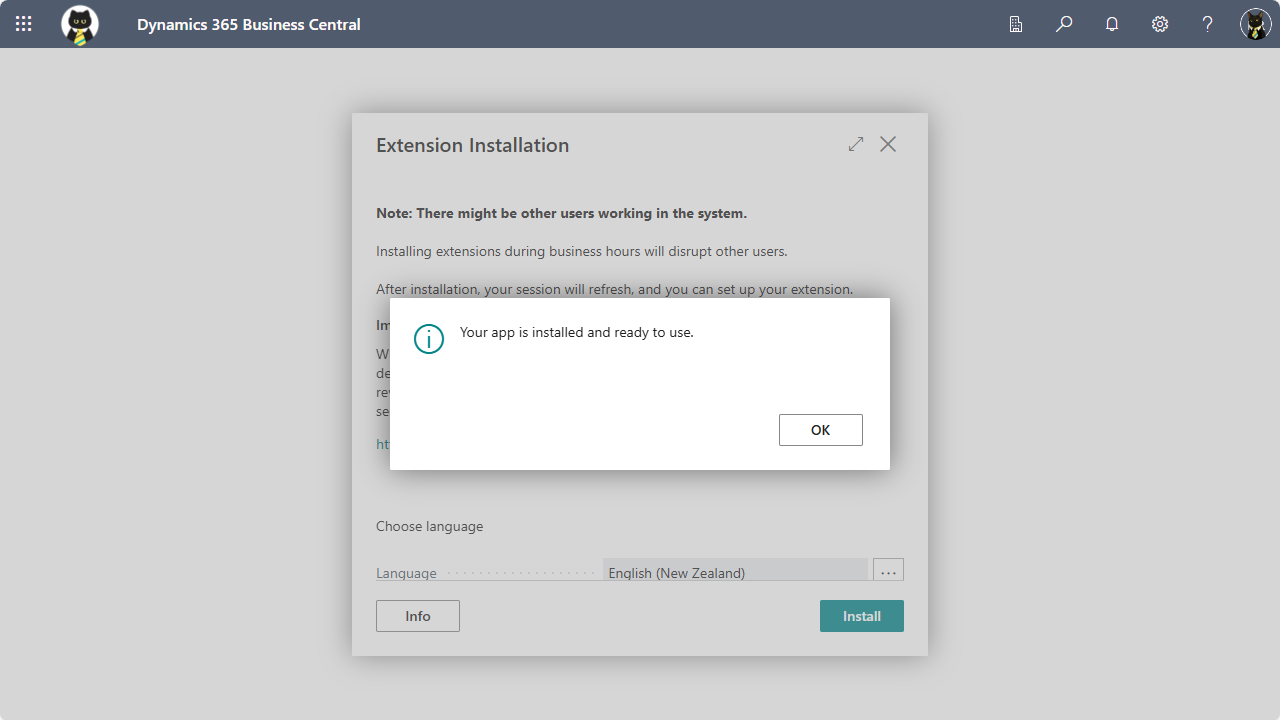
Congratulations! You have successfully installed the app. Let’s go ahead and set it up.
Configuration
Grant Permissions
Now that the product is installed and licenses have been assigned to your users, you must assign a permission set so that the users have access to the objects they need to use. There are only two permission sets in Street As:
- BC_STR_USR - A regular user of Street As. This user cannot change the settings on the Street As Setup table.
- BC_STR_ADM - An administrator of Street As. This user has all the rights of a regular user but also has write permissions to the Street As Setup table.
A user that has been assigned the SUPER permission set will also be able to access the Street As Setup page to change the configuration of the app, however if a user does not have a license assigned, they will not be able to use the app, no matter which permission sets they have.
Street As Setup
After the app is installed, the licenses have been allocated and the permissions have been granted, from within Business Central search for Street As Setup2 and launch the setup page. There’s not a lot to enter here, in fact you can get up and running by setting only two fields.
Step 1. Set the New Zealand Country Code
That’s right! Your first task is to see if you can correctly identify the country code that is used to represent New Zealand. If your system has been configured well it will most likely use the ISO 2- or 3-character codes of NZ or NZL. Use the lookup to select the correct value if you’re unsure. Once the New Zealand Country Code field contains a value, you can continue to step 2.
Step 2. Activate the app
Click on the Active toggle button to activate the app. Once the app is active, the layout of pages will change for any address that has the country/region code set to the value you selected in the New Zealand Country Code field. In order to see the address changes a user must have a license assigned and also have an appropriate permission set granted.
Step 3. Set the Default Country Address Format
This step is optional but extremely useful. If you want an address that does not have a Country/Region code specified (for example when creating a new customer), you can use this field to tell the system to treat addresses with no country specified as New Zealand addresses. There are only two options for this setting: Other, and New Zealand. I recommend you set this field to New Zealand.
Step 4. Ignore the Keep Single Delivery Line setting
One of the features of Street As is the ability to use the delivery line of the address as a combination of Unit Line, Building, and Delivery. The three parts when separated by commas will be split during printing of addresses into three separate lines. If you wish to disable this feature and have the address line print exactly as it was entered (with the commas), you can tick the Keep Single Delivery Line field. It’s possible to override this setting on a report-by-report basis, but we’ll cover that in the Clever Stuff section later on.
Advanced options
There are more fields to configure on the Recipient tab but these are optional and might take a little more consideration to use them properly. Essentially the settings here will allow you to determine how a contact name should be included in the printed address when documents are generated. We’ll cover this in detail in the Clever Stuff section and you can also find out about all of the fields and actions on this page in the Street As Setup Page Help.
-
There are currently 66 pages with updated address fields. If you find a page that you would like to be included, please log an issue by clicking the LOG ISSUE link at the top right of this page (a github user account is required to log an issue). ↩
-
Use the Alt+Q key combination or click on the magnifying glass icon in the top bar to launch the “Tell me what you want to do” search box. The search feature is a little bit smart and you can usually get away with just typing the start of the words you are looking for. I usually just type “Street Setup” to quickly get to the setup screen. ↩