Installation
Unlimited Free Trial in a Sandbox
The best way to get started with Bank Validator is to install it in a Sandbox environment as this will allow you to use the app without restrictions and does not require purchasing or assigning licenses.
Open your Business Central Sandbox environment and use the Alt+Q keypress or click the Search icon in the toolbar to bring up the search dialog which says Tell me what you want to do at the top of box. Type appsource in the box and you will see an option for Microsoft AppSource apps.
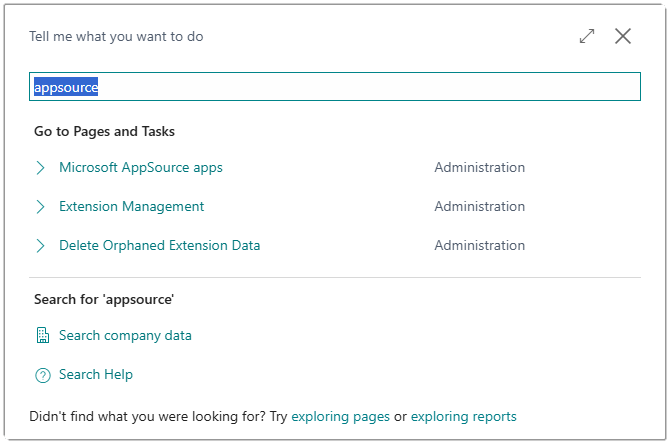
Select the option to launch the Microsoft AppSource apps page. This page can take a while to load as it needs to read a list of available apps from the AppSource API. If you have not used this page before, you may see a prompt asking you to allow a connection to an external service.
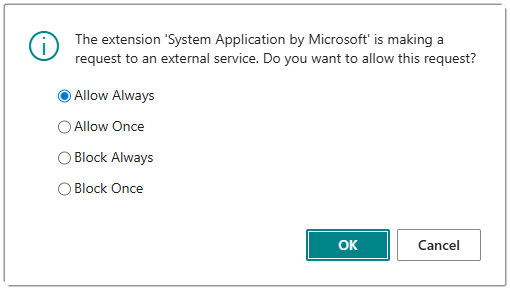
Ensure Allow Always is selected and click OK.
When the Microsoft AppSource apps page has opened, use the search box at the top of the page to search for a specific app.
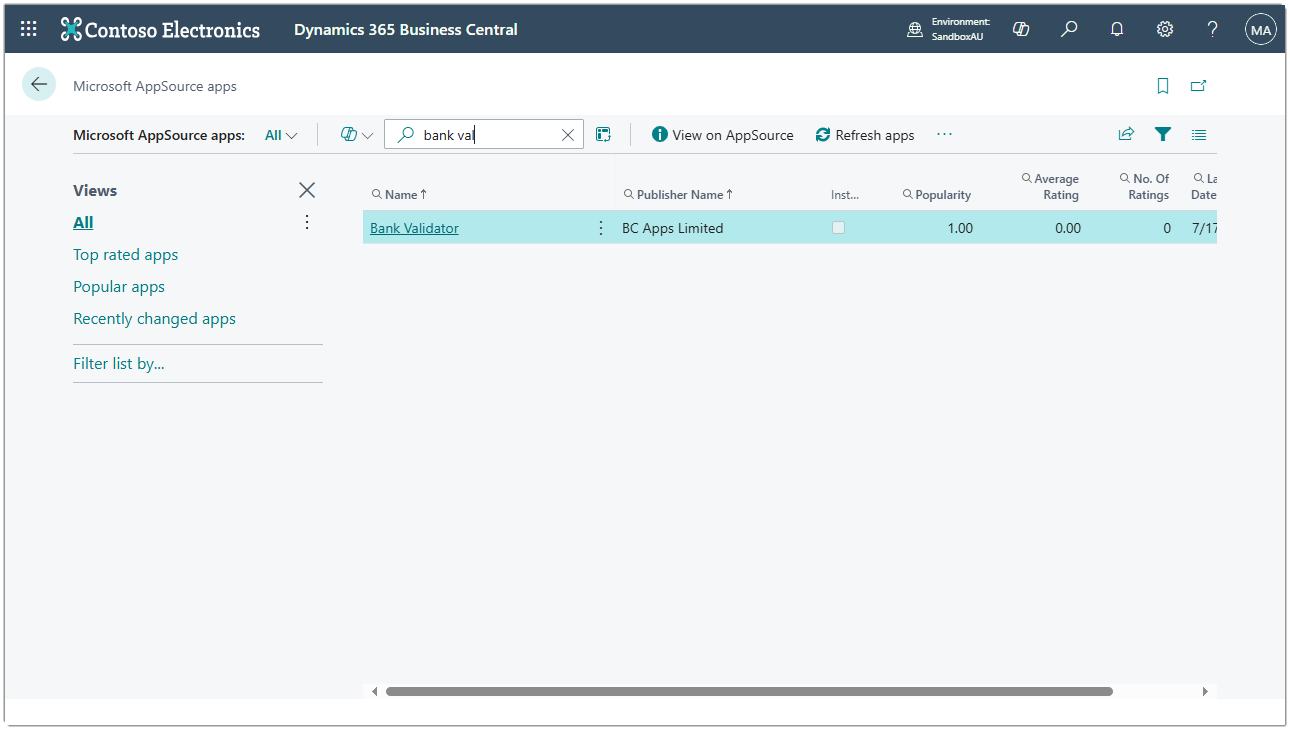
Type Bank Validator into the search box and you will see the app from publisher BC Apps Limited in the list of results.
Click on the contents of the Name field for the Bank Validator app and you will be shown the App overview page.
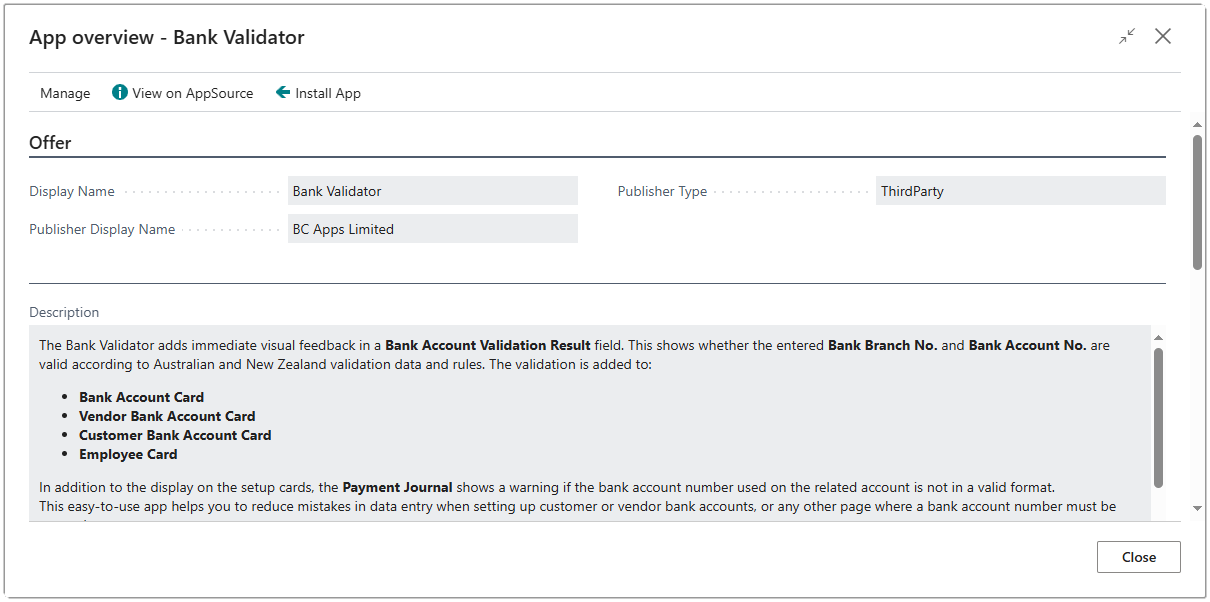
Click the Install App action button at the top of the page.
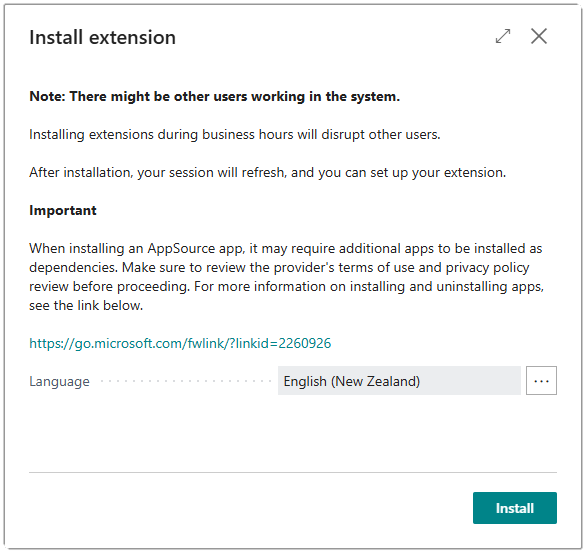
Click the Install button at the bottom of the dialog to continue with the install.
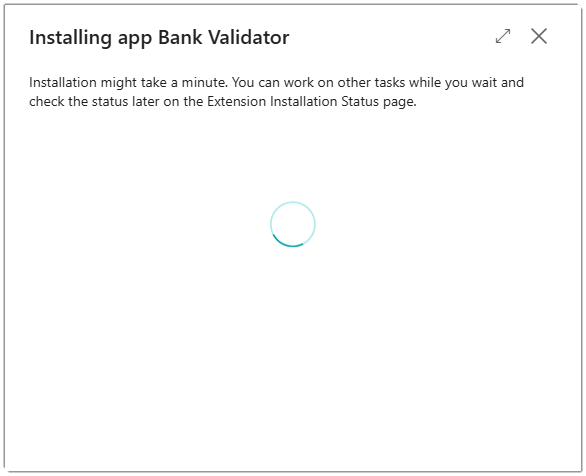
The Installing app dialog will launch to show you that the app installation is in progress.
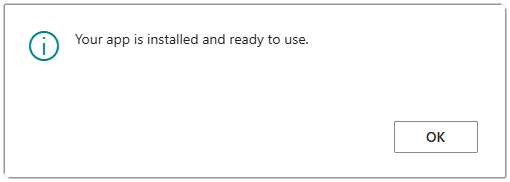
After a short while, you will see the message that your app is installed and ready to use.
Congratulations! The app is now installed in your environment and you can go ahead and configure the extension for the first time use.
Configuration
Grant Permissions
If you have SUPER or SUPER (DATA) then you’ll be able to run the configuration page without needing to set up additional permissions.
We have used implicit permissions throughout the application to ensure that if a user has access to the pages that show realtime validation of Bank Branch No. and Bank Account No. fields, they will not require additional configuration or permissions.
There are three levels of user permissions available.
| Permission Set | Description |
|---|---|
| <None> | A regular user with no special permission sets assigned can view the Bank Validation Result field1 and use the drill-down on the field to change the Validation Rule for a particular account. |
| BC_BV_USR | An advanced user can do everything in the extension with the exception of modifying the fields on the Bank Validator Setup page. This means they can run the Validate Bank Accounts process, refresh the validation rule source data, and review the source data such as NZ Banks, NZ Bank Branches, or AU Bank State Branches. |
| BC_BV_ADM | An administrator user can do everything in the extension, including toggling the Active field on the Bank Validator Setup and changing the Default Validation Rule. |
If you want to assign a permission set that has the rights to run the Bank Validator Setup page and other setup actions, you can use the BC_BV_ADM permission set.
Bank Validator Setup
Use the search option to find the Bank Validator Setup page.
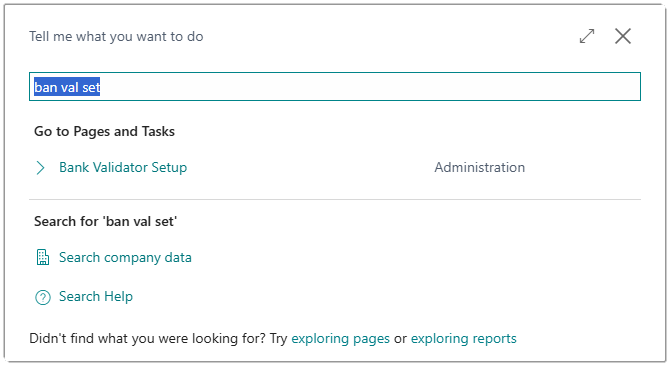
Select the option to launch the Bank Validator Setup page. The page will look similar to the following image although the initial validation source data may differ from what is shown here.
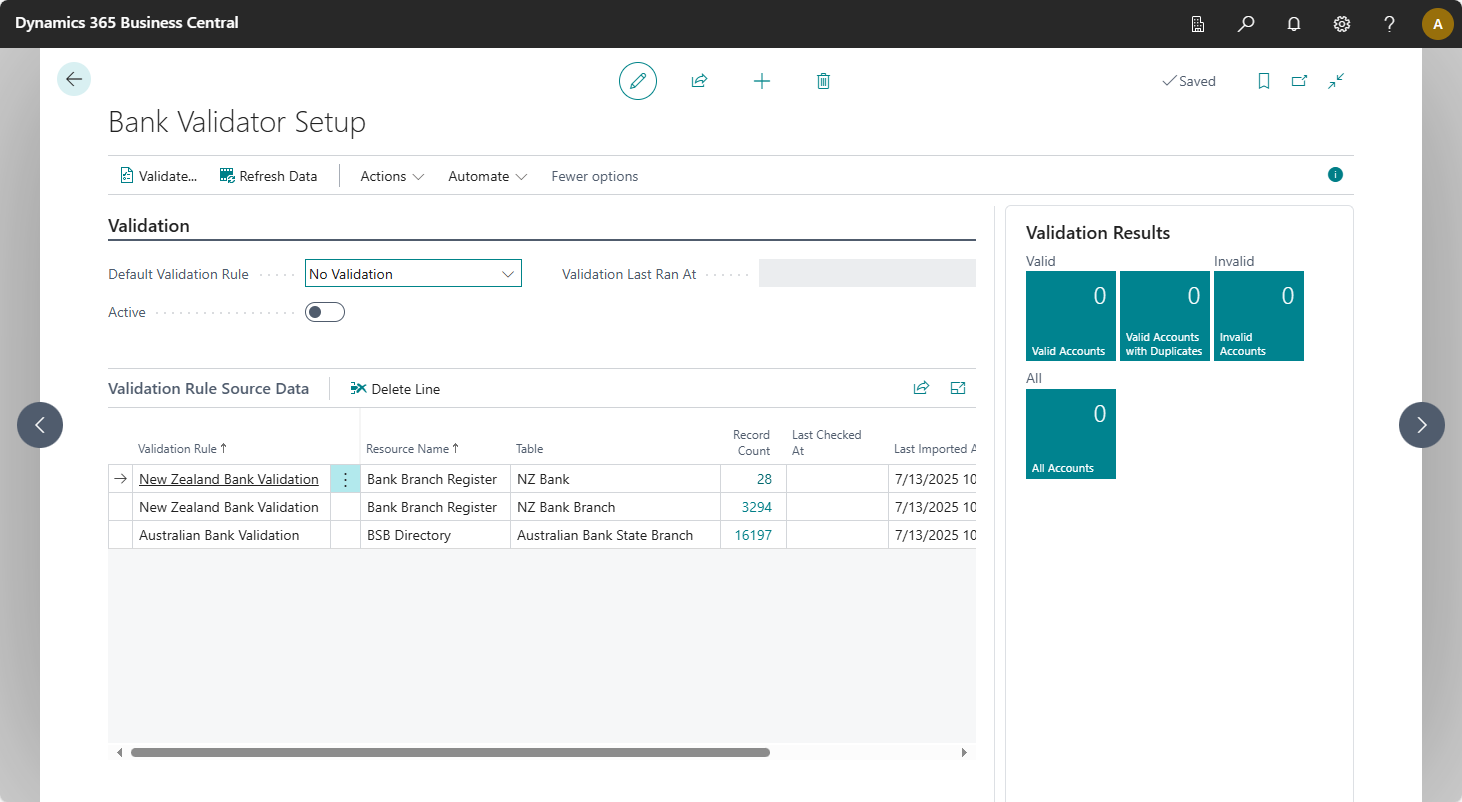
Use the drop-down to select a Default Validation Rule. If your company is Australian, you should select Australian Bank Validation. If your company is a New Zealand company, you should select New Zealand Bank Validation. You must select a default validation rule other than No Validation to be able to continue.
Once you have selected your default validation rule, click the Active toggle control. You will notice that the Default Validation Rule is greyed out and can no longer be changed.
The configuration is complete and users will now see the Bank Validation Result field on every page that shows a bank account.
To learn more about the various fields and options on the Bank Validator Setup page, please read the Bank Validator Setup section in the context-sensitive help topic.
Run Validation
Although this is not a required step, you may want to run the validation process which will find all places that contain a Bank Branch No. and Bank Account No. and store the results of the validation. This will give you an overview of how many accounts there are and whether they are valid or not. It will also attempt to update the validation source data by pulling the latest files from the data provider. Because of the update of source data feature, we recommend you schedule this process to run at least once a week to keep the validation source data up to date.
Select the Validate action and you will be presented with the options page for the Validate Bank Accounts process.
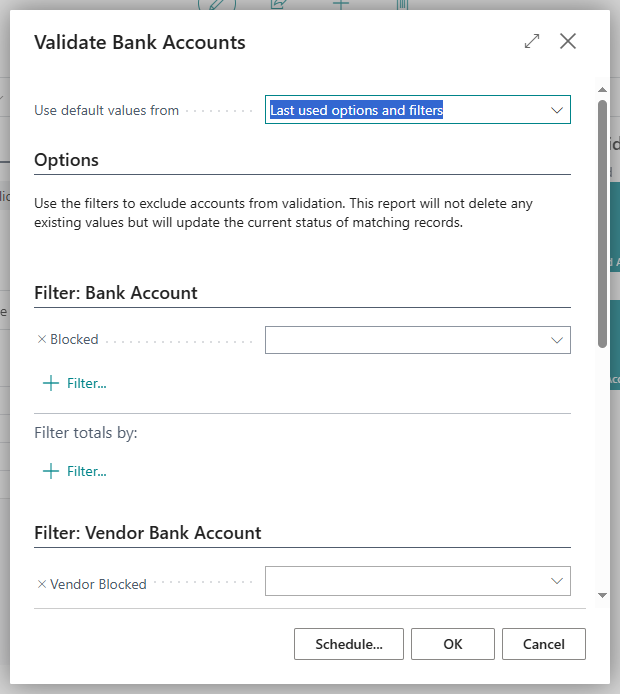
You can use this options page to filter on accounts to be validated (for example you can exclude blocked accounts), or to schedule the process to run on an automated basis.
Results of the validation will be stored and the FactBox cues will be updated to reflect the new totals.
We recommend scheduling this process to run once a day or once a week automatically and then manually opening the Bank Validator Setup page to check there are no invalid bank accounts in the system.
Schedule Validation
As with most reports or processes in Business Central, you can schedule the process to run on a recurring schedule. After triggering the Validate action, select the Schedule button.

The previous image shows the settings for the report to run every Saturday at 3:00 a.m. with a recurring schedule of +1W (which means add one week to calculate the next start date). You could use +1D to run the report every night or +1M to run the report every month.
Assign Licenses
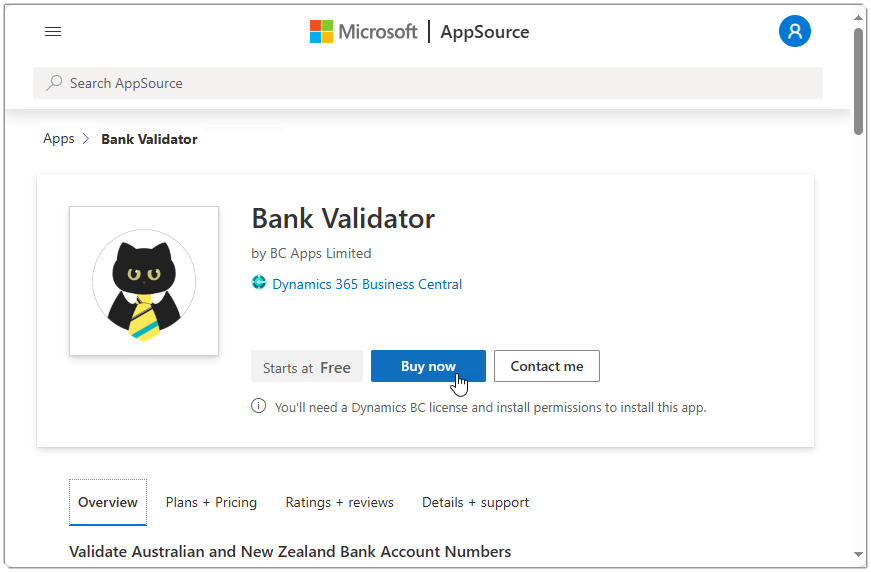
When you’re ready to use Bank Validator in your Production environment, you will need to buy and assign at least one license. After you have bought your first license for Bank Validator, you can purchase additional licenses from the Microsoft 365 Admin Center, however for your first license purchase you must use the Bank Validator page on AppSource. Navigate to the Bank Validator product page on AppSource and click the Buy now button.
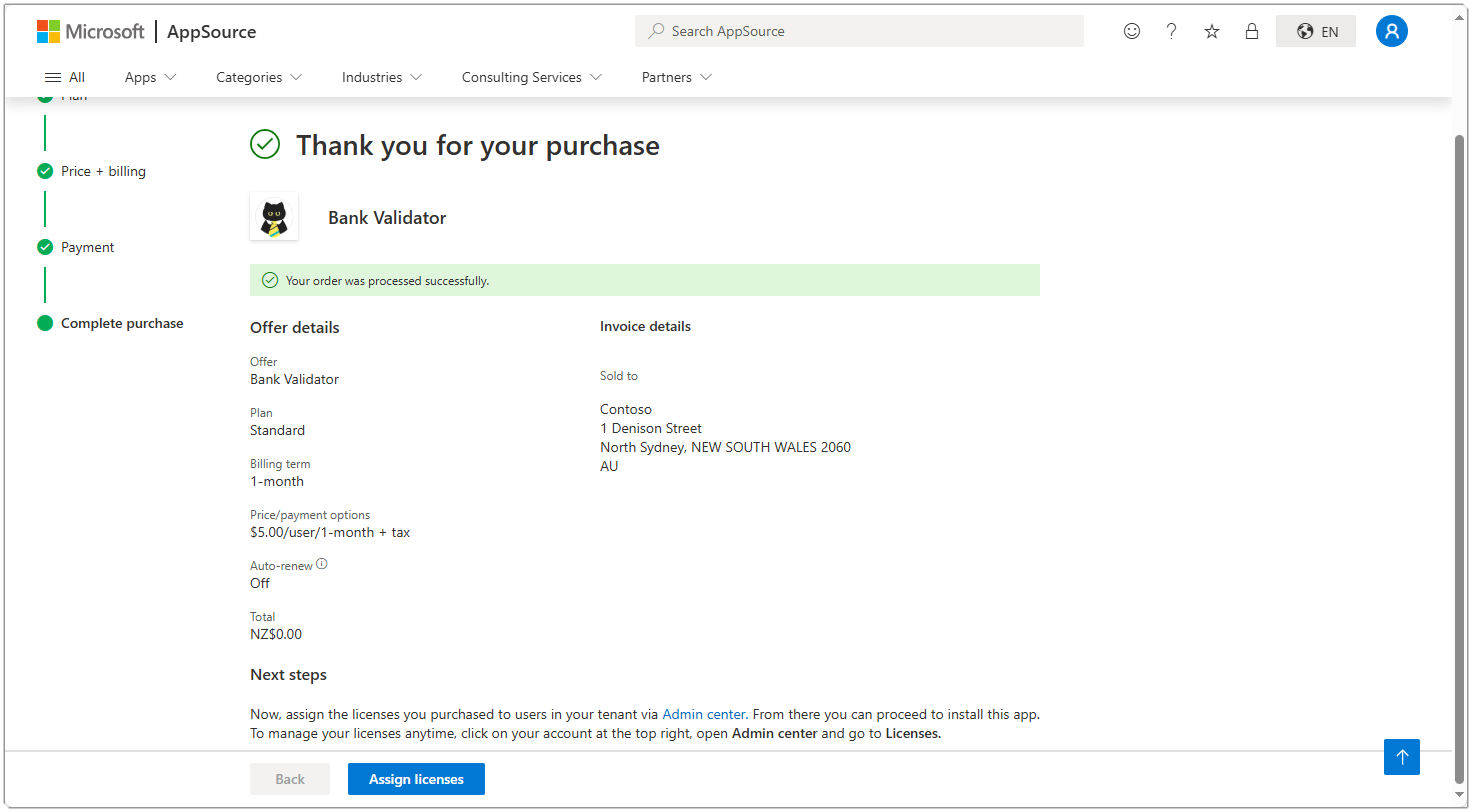
You will be guided through the various steps in order to select a Plan, choose Price + billing, confirm your Payment method, and finally Complete purchase. If you made it through these steps, you should see the final screen thanking you for your purchase and offering to take you to the Assign licenses page.
Note that external users such as delegated admin agents, help desk agents, and admin partners will be assigned a free license automatically.
You can follow the Microsoft Learn topic on assigning licenses for more details on the steps for applying licenses.
If you wish to purchase more licenses in future for this product, you can do so from within the Microsoft 365 admin center page without needing to visit AppSource. You can trigger the install of the app by clicking the Install this product link. The system will sign you in to Business Central and take you to the Extension Installation page.
-
In a Production environment a user can only see the Bank Validation Result field if they have a Bank Validator license assigned to them. ↩